Understanding Oil Painting
Oil painting offers unique textures and vivid colors. The drying time allows artists to work with rich layers. Different from other mediums, such as watercolor or acrylic, oil paint contains pigments dispersed in linseed oil, creating a thick, blendable consistency.
Essential Tools and Materials
Begin with quality materials. Invest in good brushes, canvases, and oil paints. Each tool impacts the final work. Use hog bristle brushes for their stiffness and durability. Choose canvases that are pre-primed or prime them yourself with gesso.
Basic Techniques
Learn essential techniques to improve your skills. Layering applies paint in thin layers, creating depth. Blending softens edges between colors, making transitions smooth. Start with simple exercises using these techniques.
Mixing Colors
Properly mix colors to achieve desired hues. Use a palette for mixing, starting with primary colors: red, blue, and yellow. By combining these, create secondary colors like green, orange, and purple. Experiment to understand how colors interact.
Maintaining Your Workspace
Maintain a clean and organized workspace. Keep brushes and palettes free from dried paint. Use solvents like turpentine or mineral spirits for cleaning. Good ventilation is essential due to fumes from oils and solvents.
Experiment and Practice
Experiment with various techniques and styles. Practice consistently to improve. Try out different brush strokes, textures, and layering methods. The more you practice, the more confident you’ll become with oil painting.
Resources for Further Learning
Use resources to deepen your understanding. Books, online tutorials, and art classes offer valuable insights. Join communities to share your work and receive feedback. This support system aids in your artistic growth.
Understanding oil painting involves mastering the tools, techniques, and maintenance practices. By focusing on these elements, you can create compelling art and continue growing as an artist.
Essential Tools And Materials


Understanding essential tools and materials is crucial for anyone new to oil painting. Choosing the right brushes, paints, and canvases ensures a smoother and more enjoyable painting experience.
Brushes
Quality brushes improve control over oil paints. I recommend having a variety of brush types:
- Filbert Brushes: Good for soft edges and blending.
- Flat Brushes: Ideal for bold strokes and filling large areas.
- Round Brushes: Perfect for detailed work and fine lines.
- Fan Brushes: Useful for blending and creating textures like foliage.
Opting for natural bristle brushes provides better performance due to their stiffness and durability.
Paints
Selecting quality paints is vital for achieving vibrant colors in your artwork. There are different grades of oil paints:
- Student Grade: More affordable, less pigment concentration.
- Professional Grade: Higher pigment concentration, richer colors, and better longevity.
I advise starting with a basic palette including primary colors, white, and earth tones. Investing in a reliable brand, like Winsor & Newton or Gamblin, assures consistent quality.
Canvases And Surfaces
Choosing the right canvases and surfaces impacts the outcome of your paintings. Pre-stretched canvases are a popular choice for their convenience and readiness to use. Canvas boards and wooden panels are also excellent options.
- Pre-Stretched Canvases: Ready to use, come in various sizes.
- Canvas Boards: Portable, ideal for studies and practice.
- Wooden Panels: Provide a sturdy surface, help with detailed work.
I recommend priming your surfaces with gesso to prepare them for oil paint, ensuring better adhesion and longevity.
Basic Techniques
Mastering basic techniques is crucial for any beginner in oil painting. I’ll explain three fundamental methods: underpainting, glazing, and scumbling.
Underpainting
Underpainting sets a foundation using a monochromatic color scheme. It establishes values and composition, guiding the layers that follow. Artists often use burnt sienna or ultramarine blue for this layer.
Glazing
Glazing involves applying thin, transparent paint layers over dry sections. This technique enhances depth and color richness. Mix paint with a glazing medium like linseed oil to increase transparency.
Scumbling
Scumbling adds texture and softens colors. By dragging a dry, stiff brush lightly over a dry layer, raised areas highlight while thinner layers remain unaffected. This creates an atmospheric effect.
Advanced Techniques
To elevate your oil paintings beyond basic techniques, understanding and practicing advanced methods is crucial. These methods add complexity and depth to your work, enhancing your overall artistic expression.
Impasto
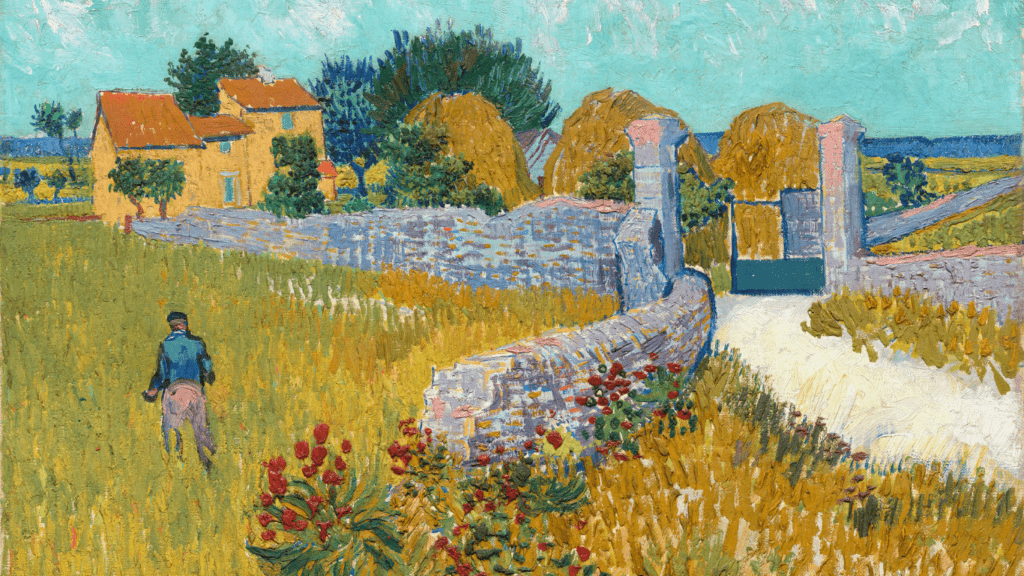
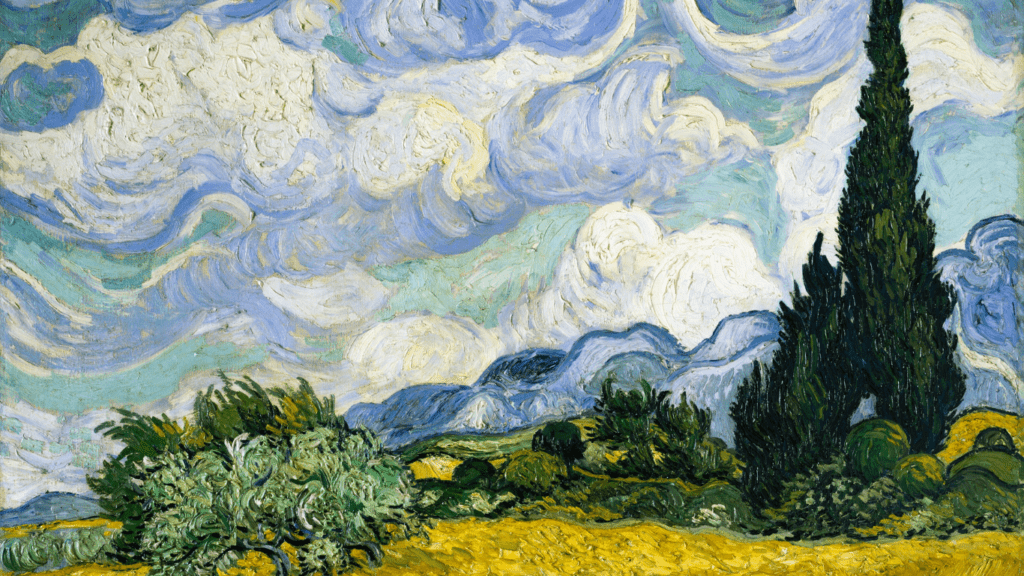
Impasto involves applying thick layers of paint to the canvas to create texture. This technique adds a three-dimensional quality, making brushstrokes visible. Artists like Vincent Van Gogh and Rembrandt often used impasto to convey intense emotions and movement. Load a palette knife or a stiff-bristled brush with paint, then apply it generously. Experiment with different tools to achieve varying textures. Use colors straight from the tube for the most dramatic effect. For a modern twist, mix in mediums like thick gel to alter the consistency without compromising color intensity.
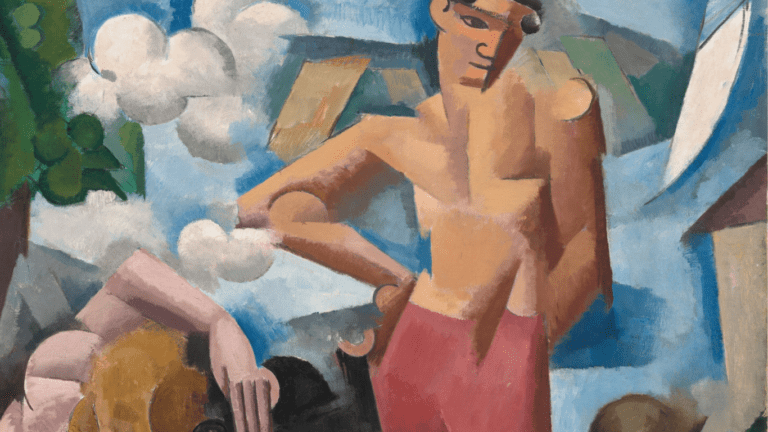
Grisaille
Grisaille is a monochromatic painting method, typically using shades of gray. This technique focuses on form and value without the distraction of color. Start by sketching your composition lightly on the canvas. Then, use black, white, and gray paints to build your forms and values. This method is excellent for underpainting, as it establishes the tonal range of your piece. Some artists, like the old masters, used grisaille as a foundation before applying glazes. For beginners wanting to master form and light, grisaille provides a disciplined approach.
Wet-On-Wet
Wet-on-wet involves applying fresh paint onto a wet layer, allowing colors to blend directly on the canvas. This technique, popularized by Bob Ross, speeds up the painting process and creates soft transitions. Prepare your canvas with a thin layer of linseed oil or a liquid white medium to keep it wet. Then, quickly apply your colors, blending edges for seamless effects. This method suits landscapes and skies particularly well, enabling smooth gradients and natural color shifts. For best results, use brushes with soft bristles to avoid disrupting the underlying layers.
Common Pitfalls To Avoid

Overloading Paint
Using too much paint can ruin an artwork. It makes layers difficult to dry and creates unwanted texture. Thin, controlled layers are best for beginners. Experimenting with smaller quantities offers better control.
Ignoring Drying Times
Oil paint takes time to dry. Ignoring this can lead to smudges and uneven surfaces. Allow each layer to dry thoroughly before adding more. The drying time varies depending on the type of paint used.
Poor Brush Care
Improper cleaning of brushes leads to hardened bristles and ineffective application. Clean brushes thoroughly after each painting session. Use proper solvents and soap to remove all paint residues. Consistent care extends the life of the brushes.
Neglecting Underpainting
Skipping underpainting results in less depth and dimension. It’s crucial for creating a strong foundation. Basic underpainting outlines the composition and establishes values. Even simple sketches help to guide the final layers.
Using Inferior Quality Materials
Low-quality materials compromise the final artwork. Cheap brushes and paints often behave unpredictably. Investing in higher-quality materials improves results. Consistent performance in tools facilitates better learning and skill development.
Overblending Colors
Overblending can make colors dull and muddy. Maintain distinct color regions to enhance vibrancy. Using clean brushes or palette knives helps preserve color integrity. Focus on deliberate blending to achieve desired effects.
Ignoring Brush Direction
Brush direction affects the texture and flow of the paint. Random strokes can create chaos. Follow the form and shape of the subject for better results. Consistent direction supports the overall composition.
Lack Of Patience
Rushing through an artwork leads to mistakes and a lack of refinement. Take time to plan and execute each step carefully. Patience enhances the quality and detail of the painting. Break projects into manageable phases to maintain focus and energy.
Tips For Beginners
- Start Small
Experiment with small canvases first. This helps manage the learning curve without feeling overwhelmed. A small surface allows better control over your brushstrokes and techniques. - Use a Limited Color Palette
Stick to primary colors and a few earth tones initially. Limiting the palette simplifies color mixing and teaches color theory effectively. For example, start with red, blue, yellow, white, and burnt sienna. - Invest in Quality Brushes
Cheap brushes can hinder progress. Good quality brushes maintain their shape and offer better control. Look for bristle brushes for thick applications and sable brushes for fine details. - Understand Your Mediums
Different mediums alter the paint’s behavior. Linseed oil, for instance, increases flow and gloss, while damar varnish speeds up drying and adds sheen. Read labels and practice with trial applications. - Master Basic Techniques
Focus on essential techniques like blending, dry brushing, and glazing. Practicing these techniques provides a strong foundation for more complex methods. For instance, blending creates smooth transitions, while dry brushing adds texture. - Prepare Your Palette Properly
Organize colors from light to dark. This setup helps maintain consistency and avoids contamination. Mixing paint well on the palette ensures even application on the canvas. - Keep a Clean Workspace
A clutter-free area promotes efficiency. Ensure brushes, palettes, and mediums are easily accessible. Clean brushes between colors to avoid muddy mixes. - Patience is Key
Rushing leads to mistakes. Allow layers to dry completely before adding new ones. Practicing patience ensures each layer contributes effectively to the final piece. - Learn from Good Artists
Study works by renowned artists. Observing pieces by Van Gogh and Rembrandt helps understand technique and style. Analyze how they apply texture, color, and light. - Join a Community
Engaging with fellow artists provides motivation and valuable feedback. Online forums, local classes, and social media groups offer support and inspiration. Sharing progress and challenges fosters growth.
Using these tips aids in developing a solid foundation in oil painting. Keeping these pointers in mind enhances both skills and confidence as you progress in your artistic journey.