Understanding Perspective in Art
Understanding perspective is critical for creating depth and dimension in art. It impacts how viewers perceive spatial relationships within a composition.
What Is Perspective?
Perspective in art refers to creating an illusion of three-dimensionality on a two-dimensional surface. It employs techniques to depict objects how they appear to the human eye concerning their spatial positions. Techniques like vanishing points and horizon lines guide artists in creating realistic scenes.
Historical Use of Perspective
Artists have used perspective to add depth to their work for centuries. In the Renaissance, painters like Leonardo da Vinci and Raphael mastered linear perspective, giving their paintings lifelike depth. The technique evolved over time, influencing the development of Western art and transforming flat images into immersive experiences.
Types of Perspective
In art, different types of perspective techniques help create varying levels of depth and dimension. These techniques are essential for conveying realistic spatial relationships in compositions.
One-Point Perspective
One-point perspective uses a single vanishing point. This technique positions all parallel lines converging towards the horizon line at this single point. Typically used in scenes depicting roads, railways, or hallways, a common example is a road stretching into the distance, where all lines recede toward one point.
Two-Point Perspective
Two-point perspective employs two distinct vanishing points. Artists place these points on the horizon line, allowing them to render objects from an angle rather than straight-on. This method effectively captures architectural structures like buildings and street corners. For instance, the edges of a building converge toward two points on opposite sides of the horizon line.
Three-Point Perspective
Three-point perspective adds a third vanishing point above or below the horizon. This technique portrays objects from an extreme angle, such as looking up at a tall building or down from a high viewpoint. The additional vanishing point helps render the vertical lines, increasing the sense of height or depth in the composition.
Atmospheric Perspective
Atmospheric perspective uses color and clarity. Objects farther away appear lighter with less detail and more muted colors, creating a sense of depth. This technique mimics how atmospheric particles scatter light, affecting the visibility of distant objects. Landscapes often employ atmospheric perspective, making distant mountains look faint and blue compared to nearby trees.
Tools and Techniques
Using perspective effectively adds depth and realism to art. Below are essential tools and step-by-step techniques to master it.
Essential Tools for Drawing Perspective
Several tools can help artists create accurate perspective:
- Pencils: Graphite pencils of varying hardness (e.g., 2B, 4H) allow for precise line work and shading.
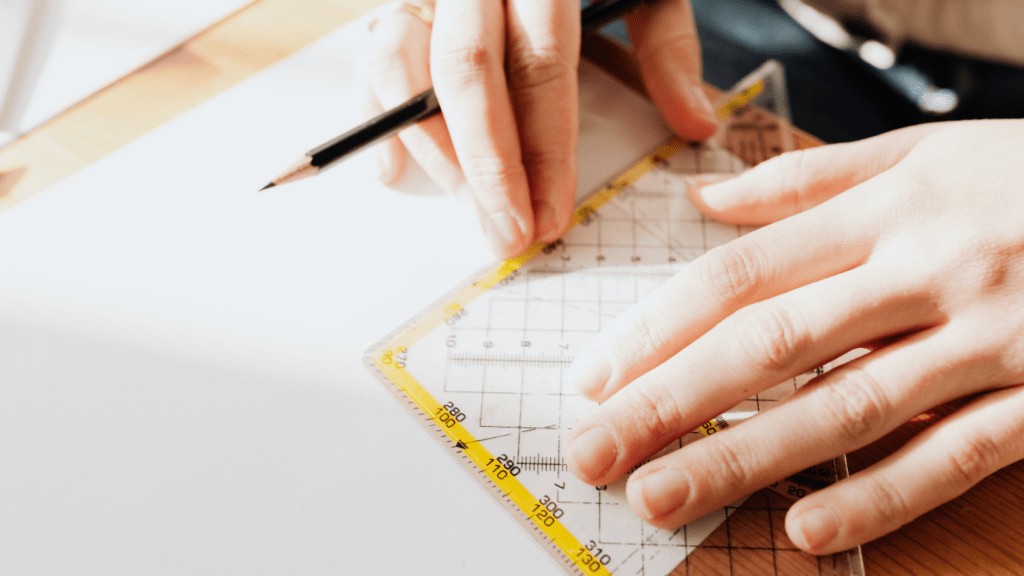
- Ruler: A ruler ensures straight lines, crucial for vanishing points and horizon lines.
- T-Square: A T-square helps draw consistent horizontal and vertical lines.
- Compass: A compass is used for drawing circles and arcs accurately.
- Eraser: A kneaded eraser can be shaped to erase small details without smudging other areas.
These tools are fundamental for setting up a structured framework in perspective drawings.
Step-by-Step Guide to Drawing Perspective

Follow these steps to achieve precise perspective in your art:
- Define the Horizon Line: Draw the horizon line across your paper. This represents the viewer’s eye level.
- Place Vanishing Points: Mark one or more vanishing points on the horizon line. For one-point perspective, use a single point; for two-point, use two points.
- Draw Guiding Lines: Use a ruler to draw straight guiding lines from the vanishing points. These lines help position objects in perspective.
- Outline Shapes: Sketch the basic shapes (e.g., cubes, rectangles), aligning edges with guiding lines to ensure correct perspective.
- Refine Details: Add finer details, keeping lines aligned with guides. This step enhances realism.
- Shade and Texture: Apply shading and texture to define depth further. Use lighter shades for distant areas and darker tones for near objects.
Mastering these steps helps create immersive and dimensional artworks.
Common Mistakes and How to Avoid Them
Even experienced artists can make mistakes when using perspective. Recognizing and addressing common pitfalls helps create more accurate and compelling artwork.
Incorrect Vanishing Points
Incorrect vanishing points can distort the sense of depth. When vanishing points aren’t aligned, objects in the scene appear unnatural. Always ensure vanishing points are consistent with the horizon line. For example, when using one-point perspective, all lines should converge at a single point on the horizon. Regularly checking alignment with a ruler minimizes errors. Drawing preliminary lines lightly lets you adjust vanishing points easily before finalizing your work.
Overcomplicating Perspective
Overcomplicating perspective can overwhelm the viewer and clutter the artwork. Simplifying scenes by focusing on fewer elements maintains clarity and effectiveness. Start with basic geometric shapes to map out objects, then add details incrementally. For instance, if depicting a street scene, sketch the main buildings and roads before adding windows, doors, or textures. This approach keeps the composition organized and visually appealing. Balancing complexity and simplicity ensures the perspective enhances, rather than detracts from, the overall piece.
Practical Applications
Using perspective in art isn’t just a theoretical exercise; it’s a technique that transforms your artwork. Applying this concept adds realism and dimension to various subjects.
Adding Depth to Landscapes
In landscapes, perspective creates a sense of distance. I start by establishing a horizon line, where the sky meets land or water. Using one-point perspective, I draw roads or rivers converging at a single vanishing point. Two-point perspective helps with more complex compositions, like depicting buildings in a townscape. For example, each side of a house vanishes towards different points along the horizon, giving the structure a three-dimensional look. Atmospheric perspective, achieved by lightening colors and reducing detail as objects recede, adds layers of depth.
Enhancing Still Life with Perspective
Perspective elevates still life compositions, making objects appear solid and spatially related. I arrange multiple objects like fruits or bottles on a table and use points of convergence. Placing a bowl closer to the viewer and a bottle further back, I outline these items with correct vanishing points. Foreground objects are more detailed and larger, while background objects appear smaller and less detailed. This technique ensures that even a simple still life setup gains depth, making each element part of a cohesive, realistic scene.


