Understanding Acrylic Paints
Acrylic paints, versatile and fast-drying, have gained popularity among artists for their flexibility and ease of use. Made from pigment suspended in an acrylic polymer emulsion, these paints allow for a range of techniques and finishes. Water, the primary solvent for acrylics, makes them easy to thin and clean, adding to their convenience.
Benefits of Acrylic Paints
Acrylic paints offer numerous benefits.
- Quick Drying: Acrylics dry faster than oil paints, enabling artists to work efficiently.
- Versatility: Suitable for various surfaces like canvas, wood, or paper.
- Layering: Quick drying allows for layering without long waits.
- Durability: Once dried, acrylics become water-resistant and less prone to damage.
- Adjustability: Mixed with different media or gels, acrylics achieve varied textures and finishes.
Types of Acrylic Paints
Different types exist for specific artistic needs.
- Heavy Body Acrylics: Thick consistency, ideal for impasto techniques and retaining brush strokes.
- Soft Body Acrylics: Smoother consistency, suitable for detailed work and glazing.
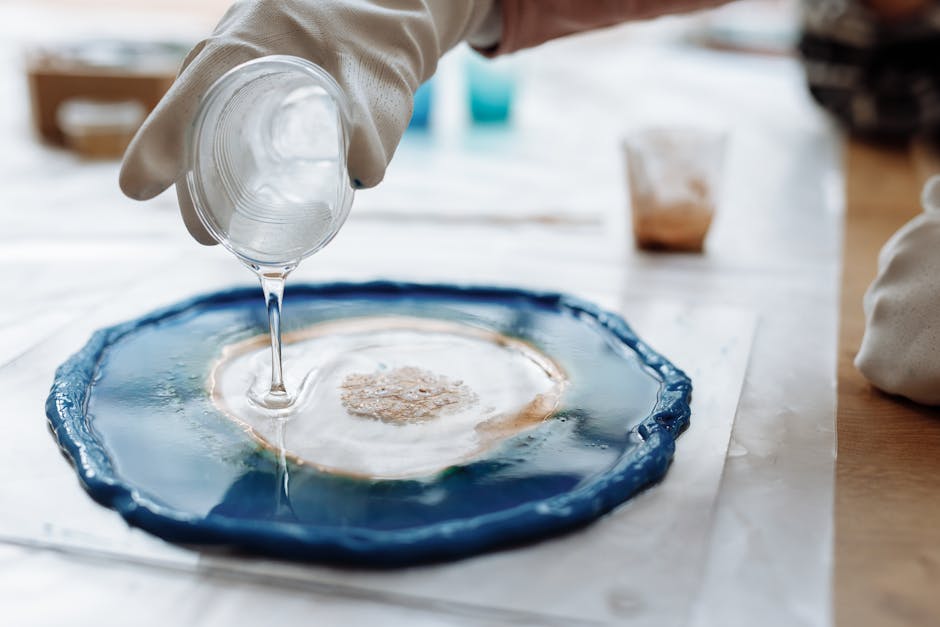
- Fluid Acrylics: High pigment concentration, perfect for pouring techniques and fine detail.
- Acrylic Gouache: Matte finish, preferred for flat, even color application.
- Acrylic Inks: Fluid and intense, excellent for drawing and mixed media.
Color Mixing and Blending
Understanding how to mix and blend colors with acrylics is essential. Saturated pigments enable vibrant color mixing. To blend effectively, work swiftly to merge colors before drying. A wet palette helps maintain paint moisture, offering more blending time.
Tools and Mediums
Using the right tools and mediums enhances acrylic painting. Palette knives, sponges, and brushes each impact the final texture. Mediums, like retarders and flow enhancers, modify drying time and consistency, providing more control over the paint’s behavior.
Common Challenges
Despite their advantages, acrylics present challenges.
- Fast Drying Time: Can hinder blending if not managed.
- Color Shift: Colors may darken upon drying.
- Adhesion Issues: Poor surface preparation can lead to flaking.
Overcoming these challenges involves practice, proper surface preparation, and using quality materials.
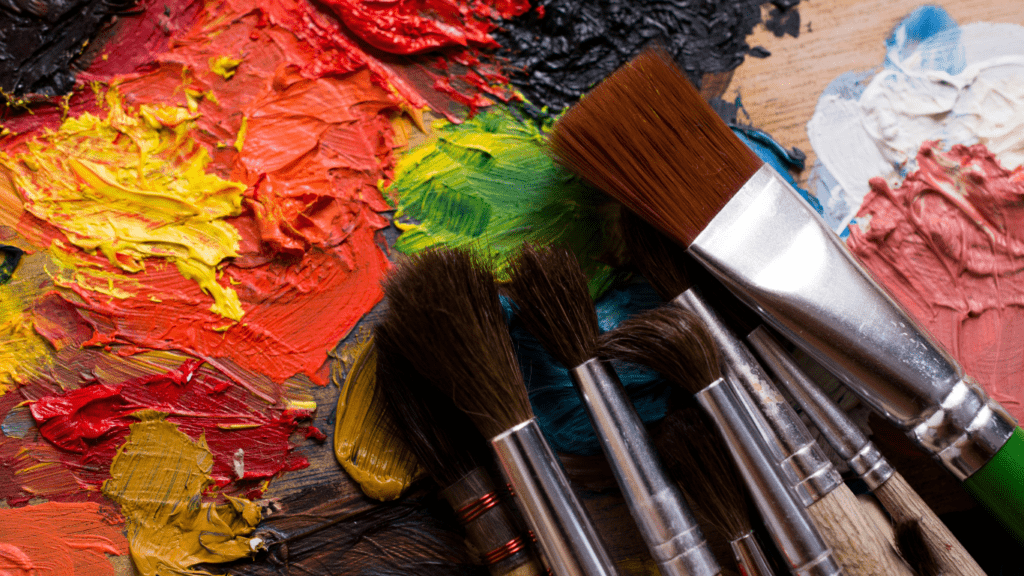
Essential Brush Types
Demystifying the different brush types is crucial for mastering acrylic painting. Each brush serves a unique purpose and knowing when to use them can transform your artwork.
Round Brushes
Round brushes have a pointed tip, perfect for creating detailed lines and delicate strokes. They’re great for outlining shapes, adding intricate details, and creating fine lines when painting. Artists often use them for both thin and thick lines, adjusting pressure to change stroke width.
Flat Brushes
Flat brushes, known for their square ends, excel at creating bold, sweeping strokes. They are ideal for filling in large areas, making sharp edges, and creating broad strokes. Flat brushes are versatile and can produce both thin and thick lines, depending on how you hold them.
Filbert Brushes
Filbert brushes combine the best of both flat and round brushes. Their curved edges make them ideal for blending and creating soft, rounded strokes. These brushes are a go-to for painting leaves, petals, and other natural forms where a smooth finish is desired.
Fan Brushes
Fan brushes feature splayed bristles, excellent for creating textures and detailed effects. They’re often used for painting landscapes, adding texture to water, and the stippling technique. Fan brushes can create delicate textures, mimicking natural elements like grass or hair.
Basic Brush Techniques

Mastering basic brush techniques is essential in achieving various effects and finishes in acrylic painting.
Dry Brush
Dry brushing involves using a brush with minimal paint. This technique produces scratchy, textured strokes, perfect for adding highlights or creating rough surfaces. For example, artists use dry brushing to simulate the texture of grass or fur.
Wet-on-Wet
With the wet-on-wet technique, I apply wet paint onto a wet surface. This method allows colors to blend naturally, creating soft transitions and smooth gradients. Artists often use it for painting skies and water.
Stippling
Stippling consists of applying small dots of paint using the tip of a brush. This technique builds up texture and depth through layers of dots in various colors. Pointillism, a painting style, heavily relies on stippling for detailed and textured results.
Scumbling
Scumbling involves applying a thin, semi-opaque layer of paint over a dry layer. This technique softens edges and adds a hazy effect, perfect for atmospheric elements like fog or shadows. Artists frequently use scumbling to subtly alter existing colors and textures.
Advanced Techniques
Understanding advanced techniques can elevate acrylic painting. These methods add richness and texture, expanding creative possibilities.
Impasto
Impasto involves applying thick layers of paint to create visible texture. I use a palette knife or a stiff brush to achieve this effect, pressing the paint onto the canvas. The heavy strokes add depth and dimension to the artwork, making it almost three-dimensional. Van Gogh often employed impasto, giving his paintings their iconic, tactile quality.
Glazing
Glazing adds layers of transparent color over a dry layer of paint. I mix acrylic paint with a glazing medium to thin it without losing intensity. By applying these thin layers, each glaze modifies the color beneath, creating luminous and rich effects. This technique works well for creating shadows, depth, and subtle color transitions. The glaze must be dry before adding another layer to prevent muddiness.
Sgraffito
Sgraffito involves scratching through a layer of wet paint to reveal the layer beneath. I use tools like a palette knife, the end of a brush, or even a toothpick for this technique. Sgraffito adds intricate details and textures, creating contrast and interest. The term originates from the Italian word “graffiare,” meaning to scratch.
Choosing the Right Brush for Your Technique
Selecting the correct brush plays a vital role in achieving the desired effects in acrylic painting. Each brush has a distinct shape, size, and bristle type, which affects the application of paint and the resulting texture.
Flat Brushes
Flat brushes, characterized by their squared-off bristles, are ideal for bold strokes, filling wide areas, and making sharp edges. Their versatility makes them useful for both broad strokes and fine lines if used on their edges.
Round Brushes
Round brushes feature a rounded tip, making them perfect for detailed work, drawing lines, and creating thin or thick strokes depending on pressure. They’re suitable for outlining and detailed work in techniques that require precision.
Filbert Brushes
Filbert brushes combine the characteristics of flat and round brushes with their rounded and flat tip. These brushes are great for blending, creating soft edges, and filling irregularly shaped areas. Artists often use them to create rounded, organic shapes like petals or leaves.
Fan Brushes
Fan brushes, with their fanned-out bristles, work well for blending colors, smoothing harsh lines, and adding texture like grass, fur, or foliage. They’re particularly useful in techniques requiring subtle transitions and delicate details.
Angular Brushes
Angular brushes, which have slanted bristles, are perfect for creating precise edges and controlled strokes. These brushes are useful for filling corners, making angled lines, and crafting detailed shapes like petals or buildings.
Detail Brushes
Detail brushes, with their small, fine tips, are essential for intricate details, highlights, and fine lines. They’re indispensable in techniques demanding pinpoint accuracy, such as miniature painting or adding minute textures.
Using the right brush depends on the technique being employed. Understanding each brush type’s capabilities ensures better control, more precise strokes, and enhanced creative expression in acrylic painting.
Tips for Maintaining Your Brushes
- Proper Brush Cleaning
Rinse brushes with warm water immediately after use to prevent paint from drying on the bristles. Gently rub the bristles between your fingers to remove excess paint. Avoid soaking the brushes for long periods as this can loosen the ferrule (the metal part that holds the bristles).
- Using Mild Soap
Use mild soap, particularly designed for artists’ brushes, to clean acrylic residue from bristles. Work the soap into a lather and rinse thoroughly. Repeat if needed to ensure no paint remains. Do not use harsh detergents or solvent-based cleaners, which can damage the bristles.
- Shaping and Drying
Gently reshape the bristles with your fingers after cleaning to ensure they dry in their original shape. Lay brushes flat to dry, or hang them with bristles pointing down. This prevents water from seeping into the ferrule and potentially damaging the handle.
- Storing Brushes
Store brushes upright in a container with bristles facing up once they are completely dry. Keep them in a cool, dry place away from direct sunlight and extreme temperatures to prolong their lifespan. Alternatively, use brush holders or rolls to protect the bristles when not in use.
- Regular Inspection
Regularly inspect brushes for signs of wear, such as frayed bristles or loose ferrules. Replace brushes showing significant wear or damage to maintain painting quality. Proper maintenance helps extend brush life and ensures they always perform at their best.