Overview of Pencil Shading
Pencil shading adds depth and dimension to drawings, transforming flat images into lifelike representations. Mastering this technique involves understanding key elements: pressure control, pencil grades, and shading strategies.
- Pressure Control
Pressure control is crucial for achieving smooth gradients. Light pressure produces soft shades, while heavier pressure creates darker tones. Practice varying pressure to gain consistency. - Pencil Grades
Pencils come in various grades, from hard (H) to soft (B). Hard pencils (e.g., 4H) make light marks ideal for fine details. Soft pencils (e.g., 6B) are better for dark, rich tones and broad shading. - Shading Techniques
Blending and layering are essential shading techniques. Blending, using tools like tortillons, smooths transitions between tones. Layering builds complexity by applying multiple layers of different shades. Experiment with hatching and cross-hatching for texture and detail.
Understanding these elements is the foundation of pencil shading. Consistent practice refines skill, enabling lifelike artwork.
Essential Tools and Materials
Mastering pencil shading requires the right tools and materials. Selecting high-quality supplies can make a significant difference in the outcome of your artwork.
Choosing the Right Pencils
The right pencils are crucial for shading. Graphite pencils come in various grades, from hard (H) to soft (B). Hard pencils (e.g., 4H) create lighter, finer lines, while soft pencils (e.g., 6B) produce darker, bolder strokes. For most shading tasks, I recommend a range from 2H to 8B to achieve different tones and textures. Mechanical pencils also serve well for consistent fine lines and details.
Types of Paper Best Suited for Shading
Selecting the right paper affects the shading process. Smooth paper, like Bristol or hot-pressed watercolor paper, offers a sleek surface for detailed work. It’s optimal for blending and creating even tones. Textured paper, such as cold-pressed or drawing paper, provides a slightly rough surface, enhancing the grip of graphite for richer, more textured shading. I suggest experimenting with both to find what suits your style best.
Basic Techniques in Pencil Shading
Mastering pencil shading requires understanding fundamental techniques. This section delves into essential aspects of light, shadow, and smooth gradients.
Understanding Light and Shadow
Effective pencil shading starts with grasping light and shadow. Light sources affect how shadows form. Light areas, or highlights, occur where light hits directly. Shadows form opposite the light, creating depth. To depict depth, use a range of pencil grades. For instance, H pencils for lighter tones and B pencils for darker areas. Consistently observe how light interacts with objects. This practice improves accuracy in shading.
Creating Smooth Gradients
Smooth gradients transition from light to dark seamlessly. Achieve this by varying pressure on the pencil. Start with light strokes, increasing pressure gradually. Use circular motions rather than back-and-forth strokes to avoid harsh lines. Blending tools, such as tortillons or blending stumps, help smooth transitions. Practicing gradients improves control, a key skill for realistic drawings.
Advanced Shading Techniques

Advanced shading techniques elevate drawings from good to exceptional, adding fine details and textures.
Cross-Hatching
Cross-hatching creates texture and depth. By placing intersecting lines at various angles, I achieve different tonal values. Fine lines close together form darker tones, while lines farther apart create lighter ones. To practice, I draw a series of parallel lines in one direction, then overlay them with lines in a contrasting direction, adjusting the spacing to control the intensity.
Stippling
Stippling uses dots to build up shadows and highlights. By varying the density of dots, I create smooth gradations. For darker areas, I cluster the dots closely together; for lighter regions, I space them out. This technique requires patience, but the detailed texture it produces makes it worth the effort. First, I outline the area, then gradually fill it with dots, mindful of the spacing.
Blending and Smudging
Blending smooths transitions between tones, creating a unified look. I use tools like blending stumps or tortillons to rub over shaded areas, softening harsh lines. Smudging involves dragging graphite with fingers or a cloth to create gradients. For control, I start with light pressure and increase it as needed, ensuring I don’t oversmooth and lose texture.
These techniques, when combined with basic shading skills, significantly improve the quality and realism of pencil drawings.
Practice Exercises
Engaging in regular practice exercises enhances pencil shading skills. I’ll share exercises that cater to both beginners and advanced artists.
Simple Shapes
Start with basic geometric shapes like spheres, cubes, and cylinders. Focus on shading techniques like cross-hatching, stippling, and blending. For instance, shade a sphere by gradually increasing pressure towards the shadow side, creating a smooth gradient. This helps understand light direction and shadow formation.
Here’s a list of exercises with simple shapes:
- Sphere: Use circular shading to create a realistic look.
- Cube: Shade each face differently to highlight light and shadow.
- Cylinder: Practice transitions between light and dark along the curve.
Complex Forms
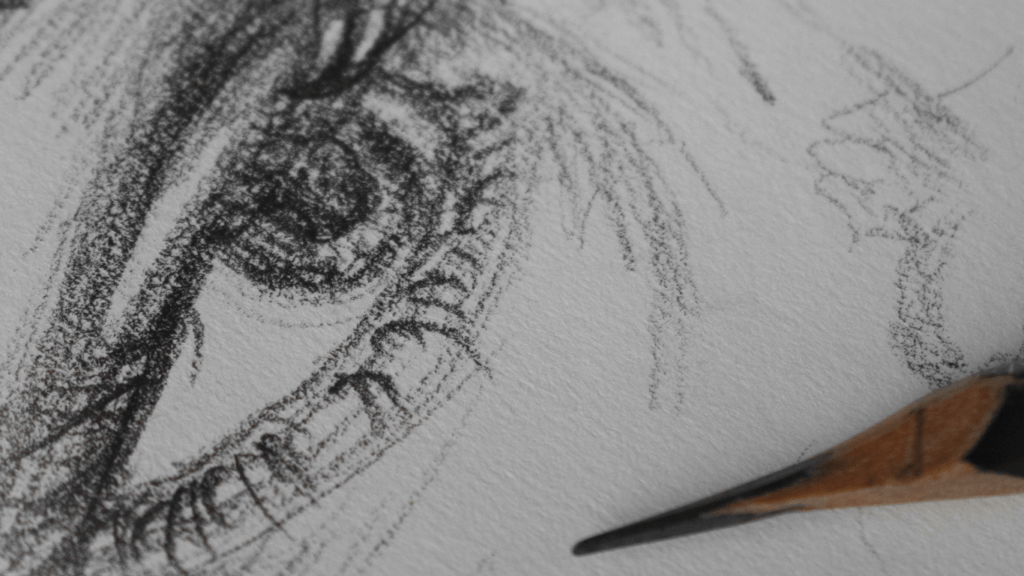
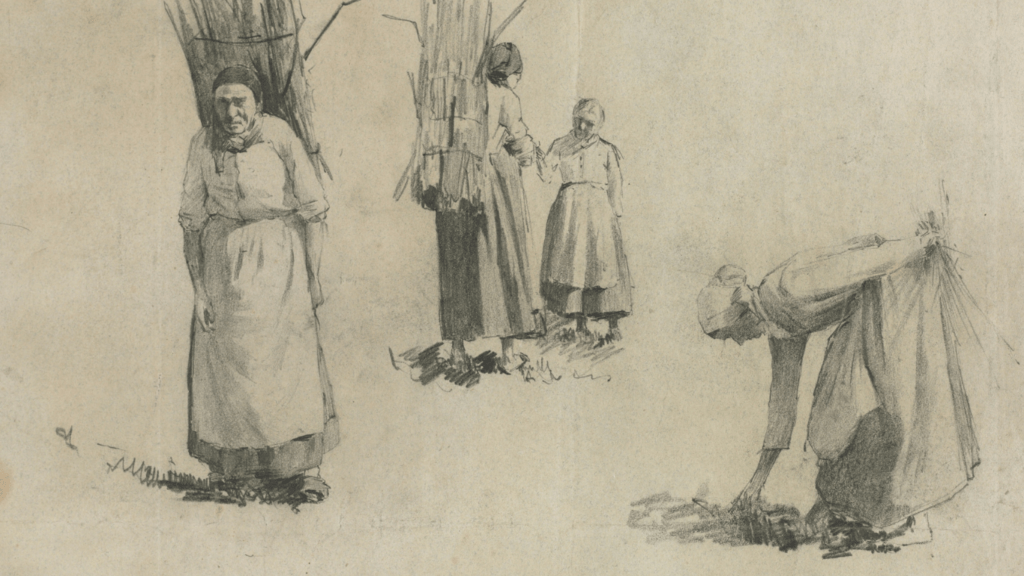
Progress to more intricate objects like faces, fabrics, and natural elements. Utilize various shading techniques to add depth and texture. For example, draw a human face emphasizing on cheekbones, nose, and eyes with different shading intensities. This builds on foundational skills to tackle more detailed shading.
- Portraits: Shade facial features to achieve lifelike representation.
- Fabrics: Use short strokes to depict folds and texture.
- Nature: Draw and shade leaves, wood, or stones to understand diverse textures.
Common Mistakes to Avoid
Ensuring Accuracy: Misjudging proportions creates unrealistic drawings. Always start with a light sketch to map out accurate proportions before adding details.
Incorrect Pressure Control: Applying inconsistent pressure leads to uneven shading. Maintain a steady hand and use consistent pressure to achieve smooth gradients.
Over-blending: Excessive blending creates a muddy appearance. Blend sparingly and enhance contrast to retain texture and depth.
Neglecting Light Source: Ignoring the light source results in flat and unrealistic shadows. Identify the light source first to create natural highlights and shadows.
Using a Single Pencil: Relying on one pencil limits tonal variation. Use a range of pencils (HB, 2B, 4B) to achieve a full spectrum of shades.
Rushing the Process: Hurrying through shading affects overall quality. Take time to build up layers gradually for a polished look.
Inconsistent Strokes: Random strokes create a chaotic effect. Use uniform, deliberate strokes for a cohesive appearance.